When importing POS data, the destination page allows you to select where you would like to store the data you are importing. See the following image.
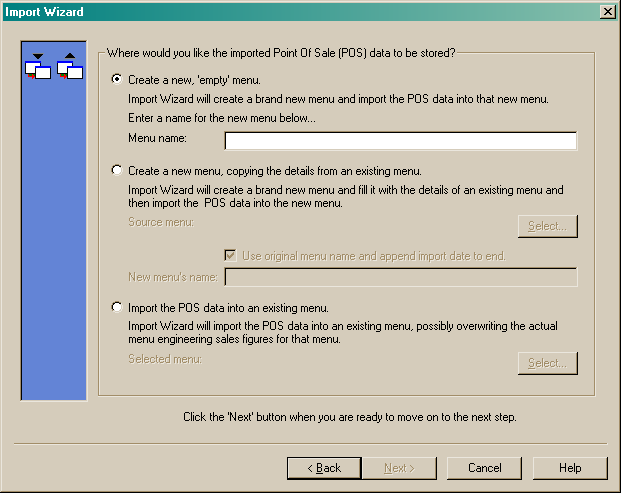
You can choose to import the data using one of the following methods:
•Create a new, "empty" menu or
•Create a new menu, copying the details from an existing menu or
•Import the POS data into an existing menu.
Create a new, "empty" menu
Choosing this option will allow the program to create a new menu and then import the POS data straight into it. You must enter a name for the menu you are creating. See the following image.
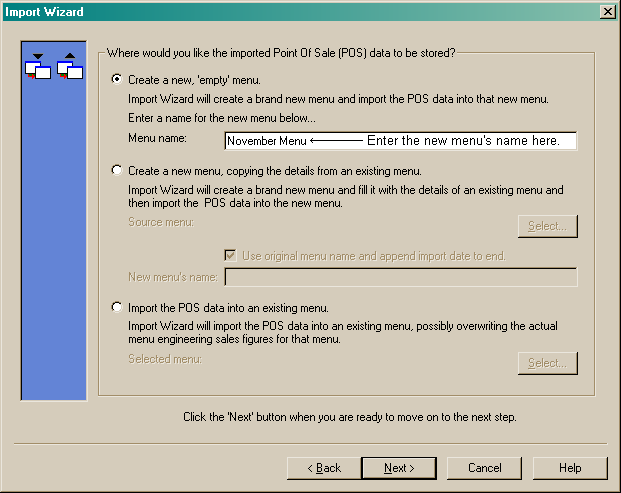
Click the "Next" button to move on to the Delimiters page - POS data.
Create a new menu, copying the details from an existing menu
Choosing this option will allow the program to create a new menu, copying the details from an existing menu. See the following image.
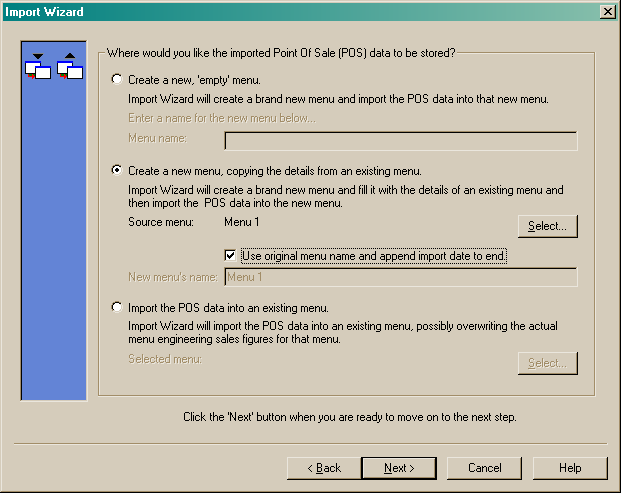
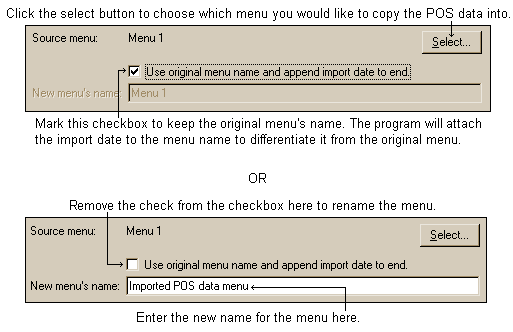
You must choose the source menu. This is the menu that will be copied, including all recipes and their associated costs and any budget menu engineering figures you may already have entered for the source menu. Click the "Select" button to choose the source menu. You can also choose to keep the menu's original name or change the menu name. If you choose to keep the menu's name, the program will attach the import date to the end of the menu name to differentiate between the original source menu and the menu with the imported POS data in it. To choose this option, ensure the "Use original menu name and append import date to end" check box is marked. If you choose to change the menu name, uncheck the "Use original menu name and append import date to end" checkbox and enter the menu's new name in the "New menu's name" field. See the following images.
Once you have made your selections, click the "Next" button to move to the Delimiters page - POS data.
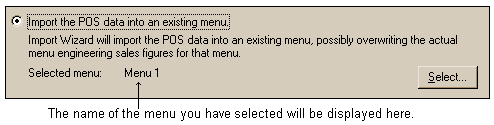
Import the POS data into an existing menu
Choosing this option will import the POS data into an already existing menu, possibly overwriting any POS data that may already be entered for that menu. Select the menu from the menu selection list and that menu's name will be shown in the selected menu field. See the following image.
Click the "Next" button to move to the Delimiters page - POS data.